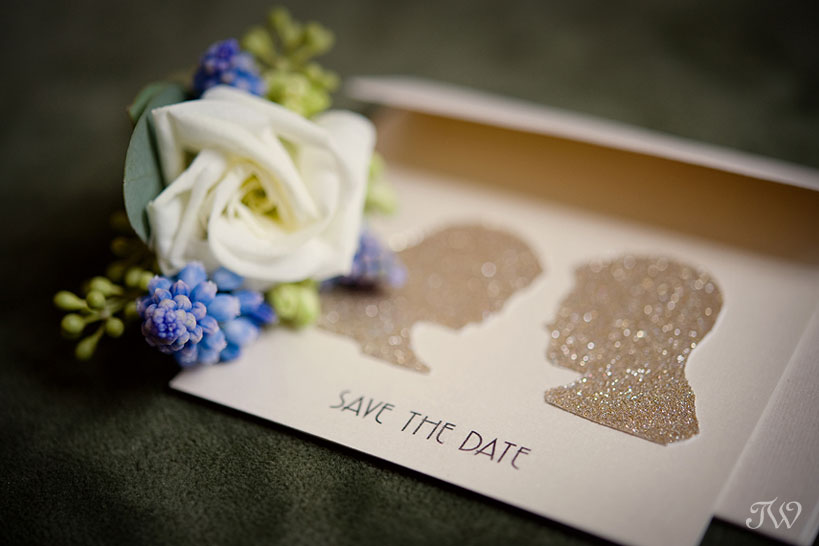
Silhouettes are all the rage and there are so many clever ways to use a silhouette in planning your wedding. This week I’m going to feature several DIY projects but for all of them, you have to start at the beginning – by creating the silhouette itself. Today I’ll show you how.
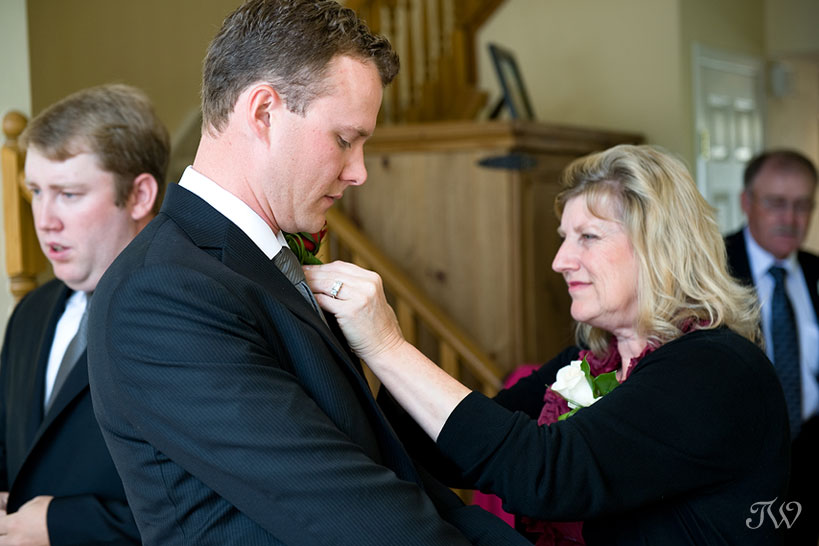
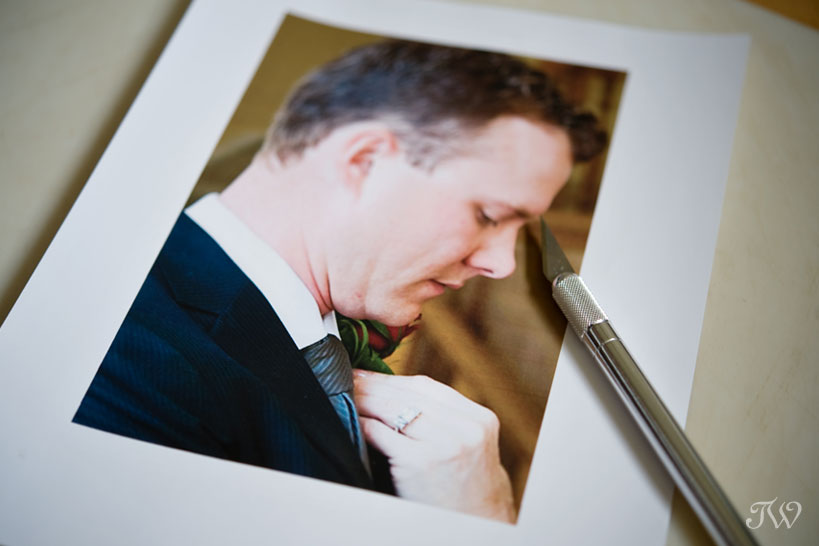
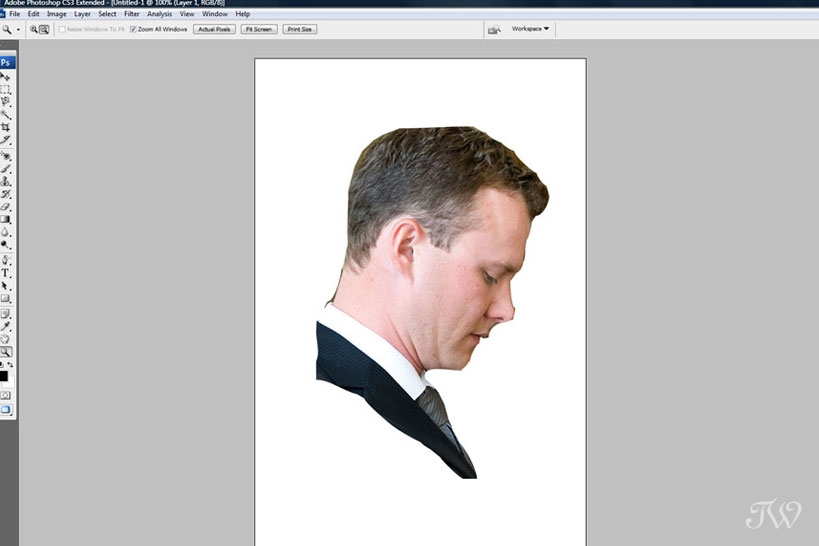
I started with a photo of our groom, Warren. Because the decor projects were completed prior to the shoot itself, I used a photo of Warren that I already had on hand (Warren was the best man at Sarah & Bryce’s wedding). If you have the option, I recommend having your subject stand in front of a plain, contrasting wall and take the profile photo right at their level, so as not to distort their facial features.
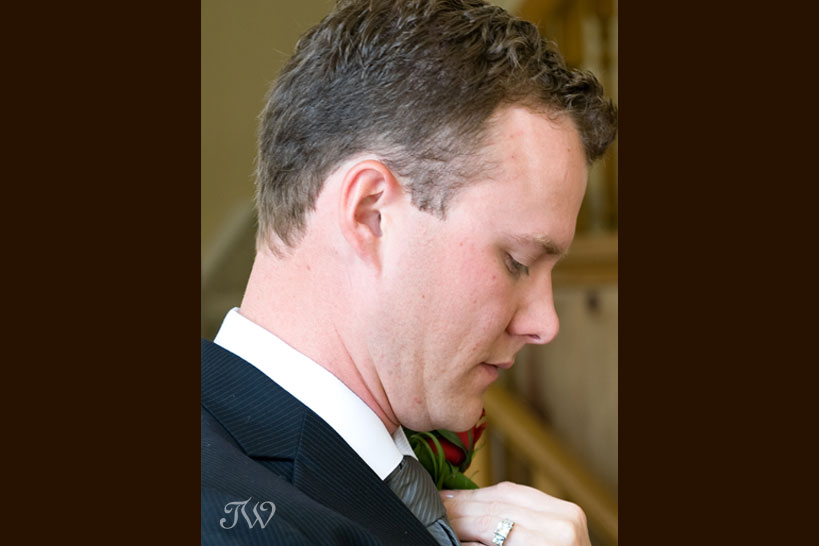
This photo worked out just fine though. Using your own photo editing software, crop the photo down for simplicity.
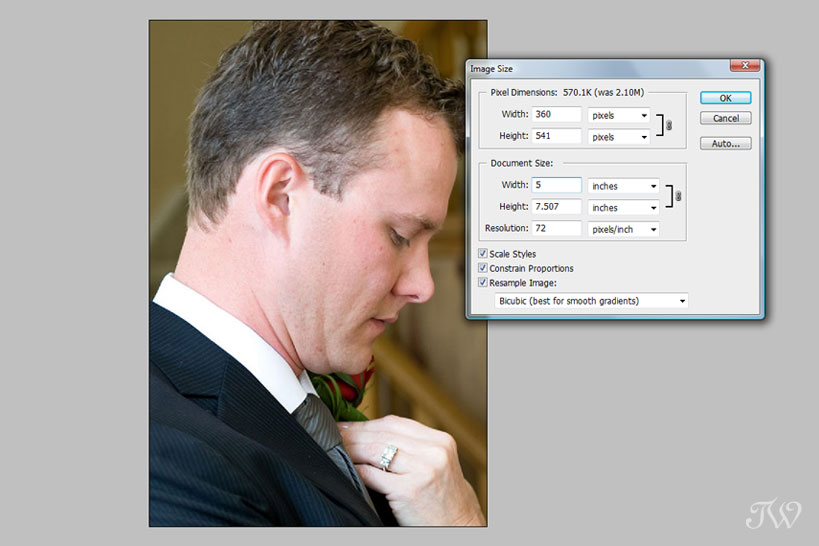
Using your photo editing software, size the photo to suit your project. Ours needed to fit into an 8×10 photo frame, so I sized the photo as follows. The resolution of the photo isn’t important for this application as it will essentially be used as a stencil for tracing.
I printed the photo onto white card stock.
With a steady hand, I used an X-Acto knife to cut out Warren’s profile, being careful around facial features.
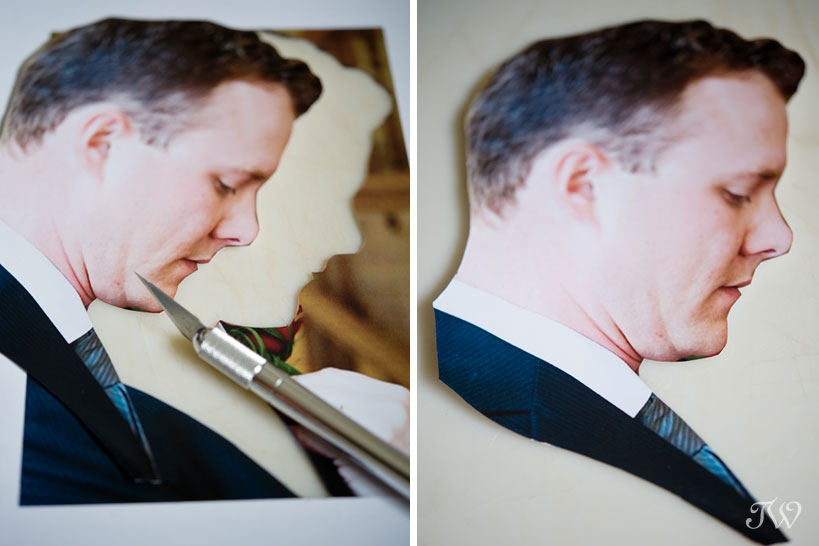
Voila! A hard-copy silhouette of the groom that can be used for tracing.

I started with the same photo and opened the image in Photoshop.
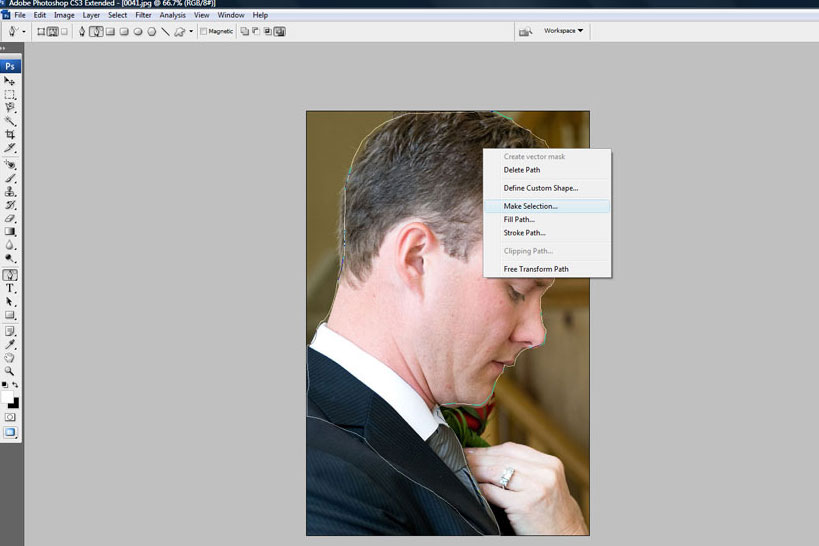
I used the “freeform pen tool” to trace Warren’s outline. When I had completed the outline, I right-clicked and chose “make selection”. I then clicked on “edit” followed by “copy”.

Next I created a new project which I sized at 8×12. For this purpose, I used a web resolution of 72 dpi. If you were using it for a printed application, chose 300 dpi.
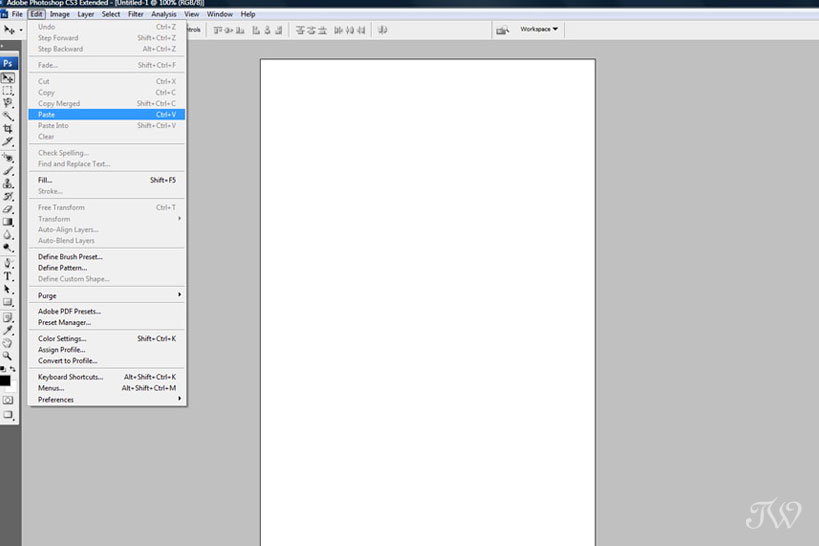
Next I clicked on “edit” followed by “paste” which brought the outline of Warren onto the new project. Use the “move” tool to place the outline where you would like on your project.
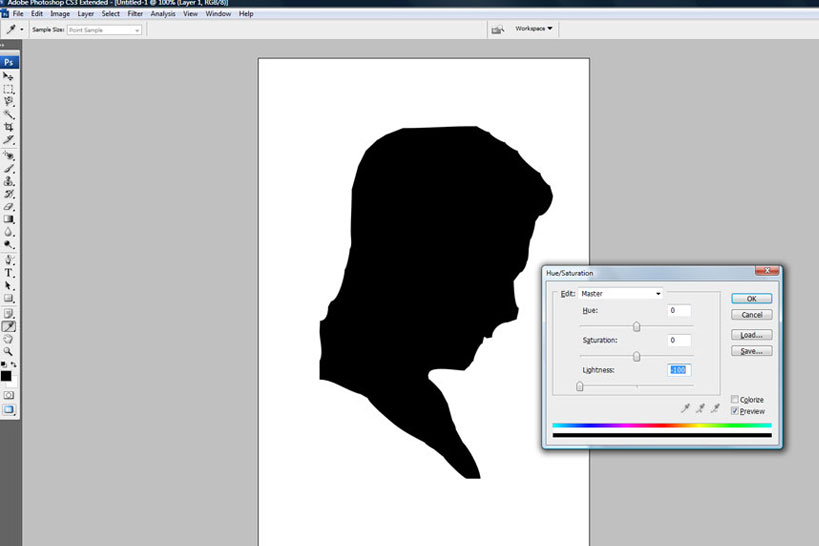
Press “control” & “u” simultaneously and you will see sliders for hue, saturation and lightness. Move the lightness slider to -100 and you will see the silhouette become black. Press OK.
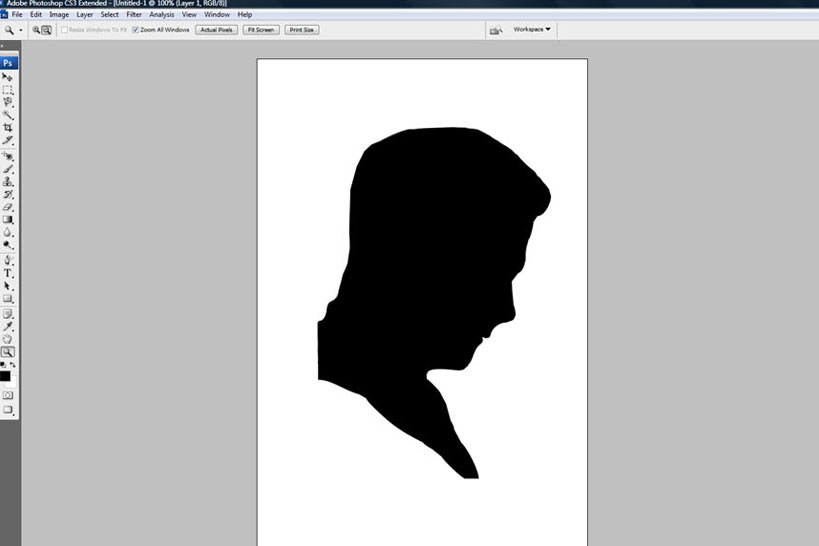
I used the brush tool to smooth out a few of the rough edges and here’s the final product. Don’t forget to save it.
I hope you will come back tomorrow to read about our silhouette invitation suite. See you then.

")

leave a comment